
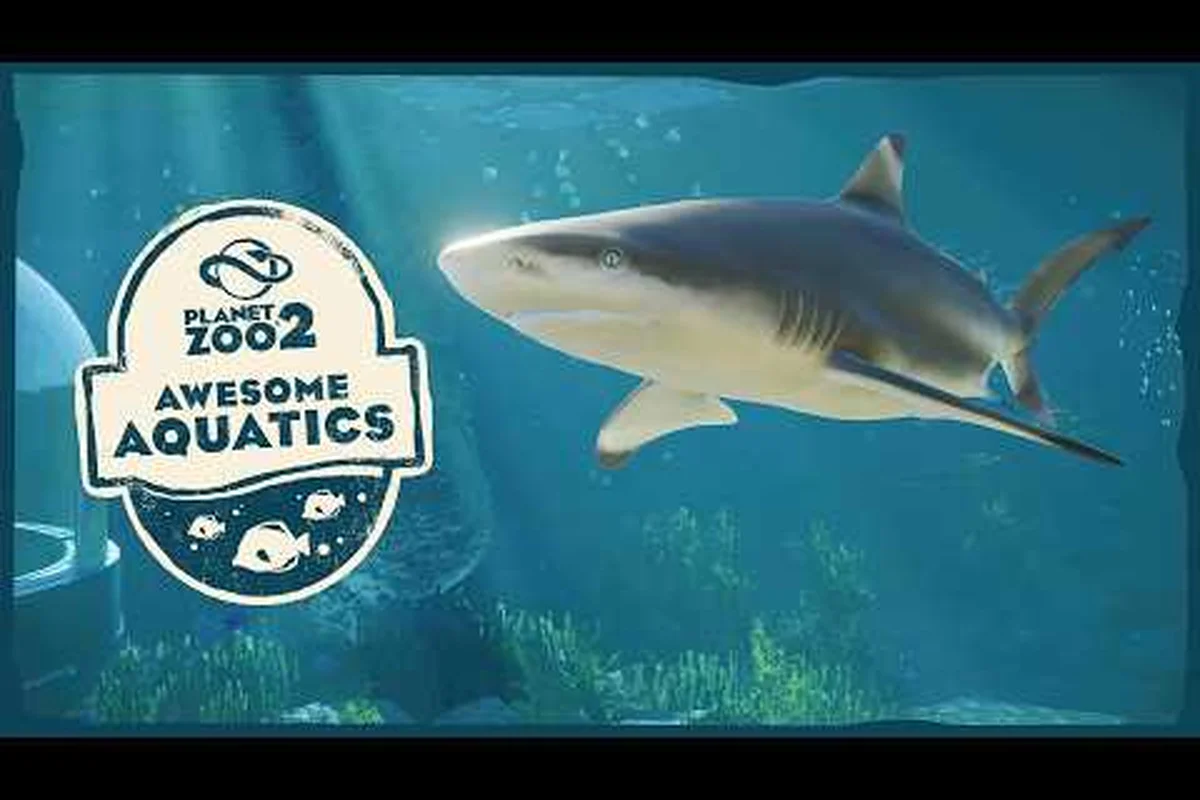
A Planet Zoo 2 freshwater aquarium is one of the most rewarding habitat builds because it turns a static glass box into a living, breathing ecosystem. Getting the tank size, filtration loop, and water chemistry right determines whether your fish school comfortably or constantly trigger welfare alerts. This guide breaks down the exact setup sequence, from first glass panel to stable nitrogen cycle, so you can launch a thriving underwater habitat without wasting money on failed water tests. sh school comfortably or constantly trigger welfare alerts. This guide breaks down the exact setup sequence, from first glass panel to stable nitrogen cycle, so you can launch a thriving underwater habitat without wasting money on failed water tests, and the same principle of monitoring invisible environmental thresholds applies to terrestrial enclosures—our breakdown of Planet Zoo 2 habitat comfort thresholds shows how to read the welfare indicators that keep land animals content before problems escalate.
Freshwater Aquarium Core Setup
The foundation of any successful Planet Zoo 2 freshwater aquarium starts before you place a single animal. You need to understand how the game treats water as a habitat resource rather than a decorative prop. Unlike terrestrial enclosures where terrain and foliage dominate welfare calculations, aquatic habitats evaluate water volume, filtration throughput, and species-specific chemistry ranges as primary metrics. The official Planet Zoo 2 player guides confirm that aquariums function as distinct housing types alongside traditional habitats and exhibits, which means they carry their own infrastructure requirements and failure states.
When you first open the aquatic build menu, you will notice that glass panels replace standard barrier walls as the primary containment option. These panels must form a completely sealed loop around your water volume, and any gap will prevent water from spawning correctly. The game does not simulate water physics in real time, but it does validate containment geometry before allowing you to fill the tank. A common early mistake is placing filtration equipment outside the sealed boundary, which creates a visual connection but no functional water loop.
Your first build should target a modest footprint rather than an ambitious mega-tank. A rectangular tank measuring roughly 12 by 8 grid units provides enough swimming space for most starter freshwater species while keeping filtration costs manageable. The water volume calculation scales with both surface area and depth, so a deeper tank with a smaller footprint can sometimes outperform a shallow wide tank for species that prefer vertical swimming lanes. Community testing suggests that fully aquatic species evaluate usable swim volume rather than raw surface area, which means depth matters more than many new players expect.
| Setup Component | Starter Build | Mid-Game Upgrade | Advanced Build |
|---|---|---|---|
| Tank Footprint | 12 x 8 units | 20 x 12 units | 30 x 20 units |
| Water Depth | 3 units | 5 units | 8 units |
| Filtration Units | 2 basic | 4 standard | 6 high-capacity |
| Est. Setup Cost | 8,500 credits | 22,000 credits | 48,000 credits |
| Species Capacity | 2-3 small schools | 4-6 mixed schools | 8+ full community |
The setup cost table above reflects community-reported averages as of the current patch, though exact pricing may vary slightly depending on your zoo's research progress and difficulty settings. What remains consistent is the ratio: filtration infrastructure typically consumes 35-45 percent of your total aquarium budget, so plan accordingly before committing to a large tank.
Water Quality and Filtration Mechanics
Planet Zoo 2 aquarium filtration operates on a throughput model that directly ties equipment capacity to water volume. Each filtration unit processes a fixed amount of habitat water per in-game day, and if your total water volume exceeds that processing capacity, quality degrades on a predictable curve. The degradation manifests as rising ammonia and nitrite levels, which then trigger welfare penalties for every species in the tank. According to the official Planet Zoo 2 Steam page, fully aquatic species are a headline feature of the sequel, which means the filtration loop is not an optional decoration but a core gameplay system.
The nitrogen cycle simulation is simplified compared to real-world aquarium keeping, but it still rewards proactive management. When you first fill a tank, water quality starts at a neutral baseline. As animals produce waste, ammonia accumulates until your filtration units convert it to nitrite and then nitrate. The conversion rate depends on both the number of filtration units and their placement relative to water flow. Units placed at opposite ends of the tank create a circulation current that improves processing efficiency, while clustered units leave dead zones where waste accumulates faster than it can be filtered.
| Water Parameter | Safe Range | Warning Threshold | Critical Failure |
|---|---|---|---|
| Ammonia (ppm) | 0.0 - 0.25 | 0.26 - 0.50 | 0.51+ |
| Nitrite (ppm) | 0.0 - 0.50 | 0.51 - 1.00 | 1.01+ |
| Nitrate (ppm) | 0 - 20 | 21 - 40 | 41+ |
| pH Level | 6.5 - 7.5 | 6.0 - 6.4 / 7.6 - 8.0 | Below 6.0 / Above 8.0 |
| Temperature | Species-specific | ±3°C variance | ±6°C variance |
The parameter table shows why water quality management is a continuous process rather than a one-time setup task. Even with adequate filtration, nitrate accumulates over time and requires periodic water changes to reset. The game abstracts water changes as a maintenance action that temporarily reduces all waste parameters by a percentage, but the exact reduction scales with your staff's training level and the frequency of scheduled maintenance. Players who neglect this routine report seeing healthy tanks crash into welfare emergencies within three to five in-game days.
Temperature control adds another layer to the filtration puzzle. Freshwater species have narrower comfort ranges than many terrestrial animals, and the water heater and chiller equipment must be placed inside the sealed tank boundary to function. Unlike filtration units that can sit adjacent to the glass, temperature equipment requires direct water contact, which means you need to plan equipment alcoves or service corridors into your tank design from the start.
Freshwater vs. Saltwater Aquarium Design
Choosing between a Planet Zoo 2 freshwater aquarium and a Planet Zoo 2 saltwater aquarium shapes your entire build strategy, because the two systems share almost no compatible equipment. Freshwater setups are the recommended starting point for most players, offering lower setup costs, more forgiving water chemistry, and a wider selection of beginner-friendly species. Saltwater tanks unlock more visually striking species but demand reverse osmosis filtration, precise salinity control, and significantly higher ongoing maintenance budgets.
The equipment divergence starts at the filtration level. Freshwater tanks can use standard mechanical and biological filtration units, while saltwater tanks require specialized protein skimmers and sump systems that occupy additional floor space. This means a saltwater aquarium with the same water volume as a freshwater tank will always cost more to build and maintain, a tradeoff that only makes sense once you have established revenue streams from other habitats.
| Feature | Freshwater Aquarium | Saltwater Aquarium |
|---|---|---|
| Entry Cost | Low (8,500+ credits) | High (25,000+ credits) |
| Filtration Type | Mechanical + Biological | Protein Skimmer + Sump |
| Salinity Control | Not required | Mandatory |
| Species Variety | High (tetras, cichlids, carp) | Medium (clownfish, tangs, wrasses) |
| Maintenance Frequency | Every 3-4 days | Every 1-2 days |
| Beginner Friendly | Yes | No |
The comparison table highlights why most guides recommend mastering freshwater systems before attempting saltwater. A failed freshwater tank costs you a few thousand credits in lost animals and equipment. A failed saltwater tank can wipe out five times that investment, because saltwater species are typically more expensive to acquire and their welfare thresholds are tighter. The official Planet Zoo 2 Zoopedia lists species preferences and stats that help you plan which aquarium type fits your current zoo stage, and consulting that database before committing to a build prevents expensive retrofits.
That said, saltwater aquariums are not a trap for advanced players. Once you understand salinity management and have the budget for redundant filtration, saltwater tanks generate higher guest satisfaction ratings and can anchor a themed zone around coral reef aesthetics. The key is sequencing: build your first freshwater tank, stabilize it, learn the maintenance rhythm, and only then expand into saltwater territory.
Underwater Habitat Layout and Viewing Optimization
An underwater habitat in Planet Zoo 2 succeeds or fails based on how well you integrate guest viewing with animal welfare. The game rewards aquariums that provide clear sightlines through glass panels while maintaining adequate swimming space and hiding spots for the animals. Poor layout choices, such as placing all viewing glass on one side while filtration equipment blocks the other, create tanks that look impressive but perform poorly on both welfare and guest satisfaction metrics.
The viewing corridor concept is central to aquarium design. Instead of treating your tank as a standalone box, build it as a wall between two guest paths, with glass panels on both sides. This doubles your viewing surface area without increasing water volume, which means more guests can observe the habitat simultaneously without crowding. Community reports indicate that aquariums with dual-sided viewing generate 40-60 percent more guest engagement than single-sided tanks of identical size.
| Viewing Element | Guest Impact | Welfare Impact | Placement Notes |
|---|---|---|---|
| Single Glass Wall | Moderate | Low | Simplest setup, adequate for small tanks |
| Dual-Sided Corridor | High | Low | Requires path planning on both sides |
| Underwater Tunnel | Very High | Moderate | Animals need escape routes from overhead |
| Elevated Viewing Deck | Moderate | Low | Works well with deep tanks |
| Bench Seating Areas | High | None | Place 3-5 units from glass for best effect |
The viewing table demonstrates that guest satisfaction and animal welfare are not competing priorities in aquarium design. The most effective layouts serve both goals simultaneously by giving animals retreat spaces while maximizing visible swimming area. A common technique is to build a rock formation or dense plant cluster in the center of the tank, which provides hiding spots while creating a natural current break that encourages fish to swim in visible loops around the perimeter.
Lighting plays an underappreciated role in underwater habitat quality. The game's aquarium lighting system affects both plant growth and animal stress levels. Bright, constant lighting can stress nocturnal or low-light species, while insufficient lighting stunts plant growth and makes the tank look murky to guests. A balanced approach uses day-night cycle lighting that mimics natural photoperiods, which improves welfare for most species while maintaining visual appeal during peak guest hours.
Advanced Filtration Strategies and Troubleshooting
Once your first freshwater aquarium is stable, advanced play revolves around optimizing filtration efficiency and recovering from system failures before they cascade into animal losses. The most common failure pattern reported by players is a filtration cascade, where one unit fails, the remaining units become overloaded, water quality crashes, and multiple species welfare alerts fire simultaneously. Understanding how to prevent and respond to this scenario separates reliable aquarium operators from players who constantly rebuild their tanks.
Redundancy is the primary defense against filtration cascades. Running your tank at 70-80 percent of total filtration capacity instead of 100 percent means a single unit failure does not immediately push water quality into the danger zone. The extra capacity costs more upfront but pays for itself the first time it prevents a mass die-off. Players who run at maximum capacity report that any equipment failure triggers welfare alerts within hours, leaving almost no time to respond.
| Failure Scenario | Early Warning Sign | Response Window | Recommended Action |
|---|---|---|---|
| Single Filter Failure | Slight ammonia rise | 1-2 in-game days | Replace or repair unit |
| Heater Malfunction | Temperature drift | 6-12 in-game hours | Install backup heater |
| Overstocking | Rapid nitrate buildup | 2-3 in-game days | Reduce species count |
| Power Outage | All equipment offline | Immediate | Check power grid connection |
| pH Crash | Species stress alerts | 12-24 in-game hours | Add pH buffer equipment |
The troubleshooting table covers the five most common failure modes based on community data, though exact timing varies with tank size and species sensitivity. The power grid connection is a frequently overlooked failure point, because aquarium equipment draws significant power and can trip breakers if your zoo's power infrastructure is already near capacity. The Planet Zoo 2 building guide on the official site emphasizes that facilities and utilities form an interconnected system, which means aquarium failures sometimes originate outside the tank itself.
Water changes are your primary recovery tool when parameters drift into warning territory. A scheduled water change resets waste parameters by a percentage that scales with staff training, but emergency water changes can be triggered manually at any time. The tradeoff is cost: emergency changes are more expensive than scheduled maintenance and temporarily stress animals, so they should be reserved for genuine crises rather than routine upkeep.
Frequently Asked Questions
What is the best starter species for a Planet Zoo 2 freshwater aquarium?
Small schooling fish like tetras and danios are the best starter species because they tolerate wider water parameter ranges and cost less to replace if something goes wrong. They also school visibly, which creates immediate guest appeal while you learn the filtration and maintenance rhythm.
How many filtration units do I need for my tank size?
A good rule of thumb is one basic filtration unit per 50 cubic units of water volume, with an additional unit for redundancy. A 12 by 8 by 3 tank holds roughly 288 cubic units, so four to five basic units provide adequate capacity with a safety margin for equipment failures.
Can I mix freshwater and saltwater species in one aquarium?
No, freshwater and saltwater species cannot share a tank because the game treats salinity as a binary habitat requirement. Attempting to mix them triggers immediate welfare failures for every species involved. You need separate tanks with separate filtration systems for each water type.
Why does my water quality keep dropping even with filtration running?
Water quality drops when your filtration throughput cannot keep up with waste production, which usually means your tank is overstocked or your equipment is undersized. Check the ammonia parameter first; if it rises while nitrite stays low, your biological filtration is the bottleneck and you need more units.
How do I unlock saltwater aquarium equipment?
Saltwater aquarium equipment unlocks through the research tree after you build and stabilize your first freshwater aquarium. The game gates saltwater progression behind freshwater success, which means you cannot skip directly to reef tanks without first demonstrating basic aquatic habitat management.