
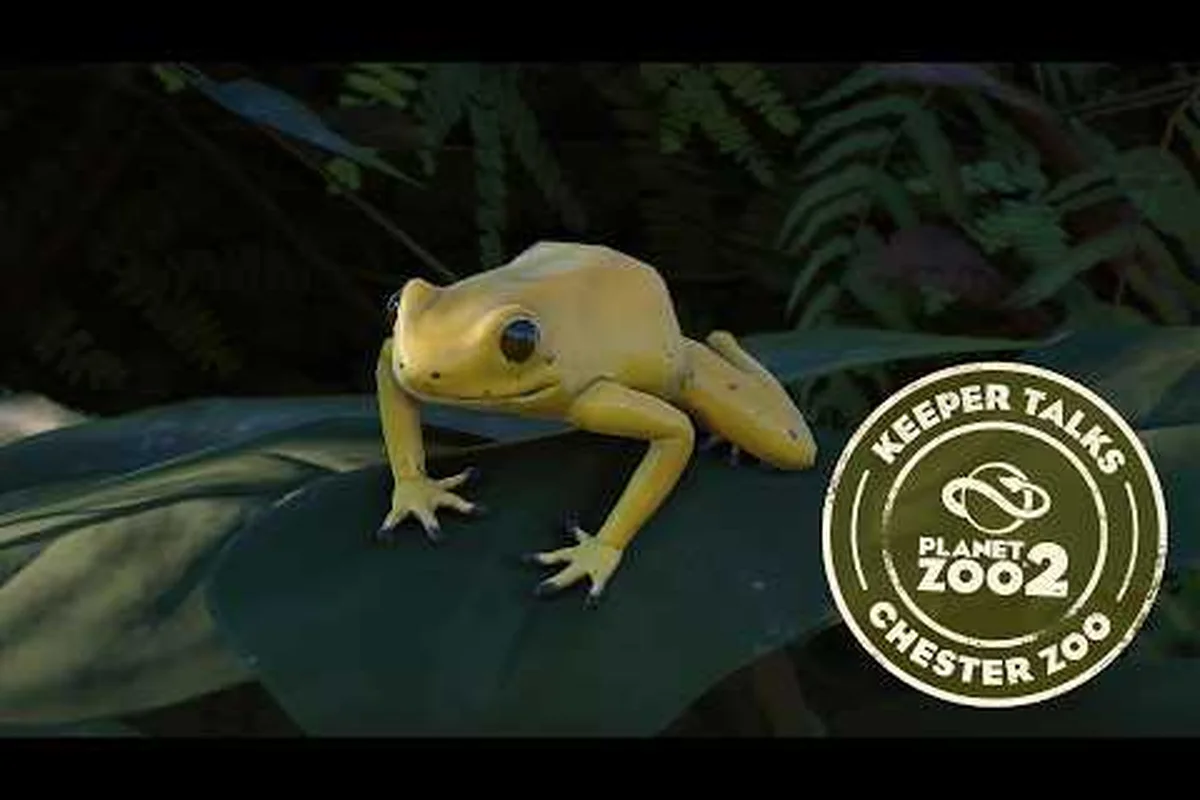
Planet Zoo 2 exhibits house some of the roster's smallest, strangest, and most beloved animals, and getting their conditions dialed in is the single biggest lever you have for a clean welfare score. This walkthrough on building a Planet Zoo 2 exhibit pulls together temperature targets, climate-control hardware, and enrichment placement so every small resident stays in the green and every guest stops to read the plaque.
What Counts as an Exhibit and Why It Matters
An exhibit is a closed, climate-controlled indoor space for one or more small animals, set apart from the open-air habitats and aquariums that Planet Zoo 2 also uses. Think insects, amphibians, small reptiles, and a handful of birds and mammals that prefer an indoor microclimate. According to the official Planet Zoo 2 habitats and exhibits player guide, an exhibit is one of the three core ways to house animals, alongside standard habitats and full aquariums, and it is the only one where you directly control temperature, humidity, and lighting through dedicated climate machinery.
Exhibits earn their keep in three ways. First, they let you showcase animals that would never survive a temperate outdoor habitat. Second, a well-themed exhibit becomes a guest magnet because visitors crowd around the glass to see a poison dart frog hunting fruit flies. Third, the welfare math is simpler than a full habitat, which makes exhibits the perfect place to practice before graduating to multi-species enclosures.
Exhibit vs. Habitat vs. Aquarium at a Glance
| Housing Type | Best For | Climate Control | Typical Animals | Guest Footprint |
|---|---|---|---|---|
| Exhibit | Small, climate-sensitive species | Full temperature + humidity + lighting | Frogs, insects, small reptiles, bats | Compact, indoor |
| Habitat | Most terrestrial mammals and birds | Outdoor, biome-based | Lions, bears, giraffes, large cats | Large outdoor |
| Aquarium | Fully aquatic life | Water quality focused | Sharks, rays, freshwater fish | Medium to large |
Why Exhibits Deserve Their Own Category
The main difference comes down to physics. A habitat leans on the surrounding biome for weather and temperature, and you only nudge conditions with terrain paint and shelter. An exhibit, by contrast, runs on a closed climate loop that you tune with hardware. Skip the hardware and welfare collapses, no matter how pretty the scenery looks. A walkthrough of an exhibit build in Planet Zoo 2 always starts with the climate block for that reason.
Exhibits also scale differently. A habitat will balloon to several thousand square meters once you add guest paths, viewing shelters, and keeper gates, but a tight exhibit fits in a 6x6 to 10x10 grid cell and still earns a respectable education and welfare score. That density is why experienced managers sprinkle exhibits throughout their zoo as filler between marquee habitats.
The Three Building Blocks of Every Exhibit
Before you start placing scenery, every exhibit needs the same three core blocks: a climate unit, one or more enrichment toys, and a power supply routed to the climate block. The climate unit is the heart of the system, and it has a temperature range you must respect. The enrichment block drives welfare, and power keeps the climate unit running through seasonal swings.
For a more thorough look at the standard habitat equivalents, our Planet Zoo 2 habitat guide covers outdoor enclosure design, but exhibits deserve a separate breakdown because the climate logic is fundamentally different.
Core Components and What Each Does
| Component | Function | Placement Rule | Common Mistake |
|---|---|---|---|
| Climate Unit | Heats or cools the exhibit air | Inside the exhibit, on a wall or free-standing | Forgetting to route power to it |
| Heater | Raises ambient temperature | Wall-mounted, often paired with cooler | Setting both heater and cooler to fight each other |
| Cooler | Lowers ambient temperature | Wall-mounted, opposite the heater | Cooling a tropical species below its minimum |
| Enrichment Toy | Boosts welfare and lets animals express natural behavior | Accessible to the animal, away from barriers | Placing it so guests cannot see it |
| Substrate + Decor | Mimics natural microhabitat | Floor and walls | Flat empty floor drives welfare down |
Temperature Targets, Heating, and Cooling
Planet Zoo 2 habitat temperature is set per species in the Zoopedia, and you control it by pairing a heater and a cooler inside the exhibit. The Zoopedia lists a comfort range for each animal, plus a hard minimum and maximum. Stay inside the comfort range and welfare is steady; wander outside and welfare starts bleeding points within seconds.
The trick is that temperature inside the climate block reads as a single value, not a gradient, so the heater and cooler have to work as a balanced pair rather than independent switches. Set the heater to 28 °C and the cooler to 12 °C for a tropical species, and the unit will keep cycling and burning power. Set both within the comfort band and the climate block idles, which is friendlier to your electricity budget and to the keeper route.
Example Temperature Bands for Common Exhibit Species
| Species | Comfort Low | Comfort High | Hard Min | Hard Max | Climate Bias |
|---|---|---|---|---|---|
| Poison Dart Frog | 24 °C | 28 °C | 18 °C | 32 °C | Tropical, humid |
| Axolotl | 14 °C | 18 °C | 8 °C | 24 °C | Cool, fresh water |
| Giant Burrowing Cockroach | 22 °C | 26 °C | 16 °C | 30 °C | Warm, dry |
| Panther Chameleon | 22 °C | 28 °C | 16 °C | 32 °C | Tropical, high humidity |
| Red-Eyed Tree Frog | 24 °C | 28 °C | 18 °C | 32 °C | Tropical, humid |
| Madagascar Hissing Cockroach | 20 °C | 26 °C | 14 °C | 30 °C | Warm, dry |
| Fire Salamander | 16 °C | 20 °C | 10 °C | 26 °C | Cool, damp |
| Axolotl (Albino) | 14 °C | 18 °C | 8 °C | 24 °C | Cool, fresh water |
Numbers in the table reflect the comfort bands reported in the in-game Zoopedia, and the climate-bias column is a quick read for the heater-vs-cooler balance you should set in the climate unit. Verify exact values in the Zoopedia for the species you actually place, because the developers tune these bands with each content update.
How to Set Up Heating and Cooling in a Fresh Exhibit
-
Place the climate unit inside the exhibit shell and connect it to power before anything else; the temperature gauge is useless until the unit is live.
-
Open the climate unit panel and check the species temperature range listed in the Zoopedia entry for the animal you plan to add.
-
Set the heater just above the comfort low (for example, 24 °C for a poison dart frog) and the cooler just below the comfort high (28 °C) so the system idles.
-
Drop the animal into the exhibit and watch the welfare panel. If the climate icon turns amber, widen the gap by half a degree at a time until welfare stabilizes.
-
Recheck the climate block at night and during rain; some weather events lower ambient temperature enough that you need an extra degree of headroom on the heater.
Common Temperature Pitfalls and How to Fix Them
| Symptom | Likely Cause | Quick Fix |
|---|---|---|
| Welfare drops only at night | Heater underpowered for night temperature dip | Raise heater target by 1 °C |
| Welfare drops in summer | Cooler not strong enough for warm biome | Lower cooler target by 1 °C |
| Climate icon keeps cycling | Heater and cooler fight each other | Pull both targets toward the comfort midpoint |
| Animal hides constantly | Temperature is technically in range but substrate too hot or cold | Add leaf litter or damp moss to buffer ground temperature |
Heating and cooling in a Planet Zoo 2 habitat will not save you if the rest of the environment is hostile. Climate, decor, and enrichment work as a single welfare package, which is the next layer this exhibit walkthrough covers.
Enrichment Placement That Actually Works
Enrichment is the difference between an exhibit that looks finished and one that prints welfare points. The Zoopedia lists each animal's preferred enrichment items, and matching the right toy to the right species is the single most reliable way to keep the welfare bar full. Every Planet Zoo 2 habitat enrichment item is a piece of scenery the animal can climb, forage, or shelter in, and each one contributes to a different welfare sub-stat: food, hydration, comfort, social, and exploration.
A common mistake is dropping every enrichment item the Zoopedia mentions into one corner and calling it done. Animals actually use toys that are reachable, varied, and in view of guests. Spread enrichment across the exhibit so the animal has to move, and place at least one toy near the glass so visitors can see natural behavior in action.
Enrichment Categories and Their Welfare Effect
| Enrichment Type | Example Items | Welfare Stat Boosted | Best Placed |
|---|---|---|---|
| Climbing | Branches, vines, bark | Exploration | Vertical, near a wall |
| Foraging | Leaf litter, fruit bowls, hidden insects | Food | Ground level, away from glass |
| Shelter | Caves, hollow logs, leaf piles | Comfort | Quiet corner |
| Water Feature | Small pools, misters, drip lines | Hydration | Center or near foliage |
| Social Mirror | Visual barriers to break sight lines | Social | Between dominant and shy animals |
A Quick Placement Recipe for First-Time Builders
For a beginner-friendly exhibit, follow this three-zone template. Zone 1 is the front glass, with one climbing piece and one foraging bowl in view. Zone 2 is the middle, with a shallow water dish and a cluster of leaf litter. Zone 3 is the back corner, with a shelter piece and a visual barrier. Place the climate unit on the back wall where guests cannot see it, but keep at least 1 meter of clearance around the unit for keeper access.
This setup hits every welfare sub-stat, gives the animal a reason to move around, and gives visitors a constantly changing view. The official Planet Zoo 2 animal welfare guide backs this approach by recommending that every species have its full welfare profile met before its habitat is considered finished, and an exhibit that follows the three-zone template is a fast way to clear that bar.
Welfare, Guest Experience, and Long-Term Stability
Welfare in an exhibit is a sum of small parts, and the only way to keep it stable is to monitor the welfare panel regularly and respond to swings. The panel breaks welfare into the five sub-stats already mentioned, plus an overall percentage, and the easiest way to lose points is to ignore the trends. A well-set exhibit will hover at 100% through both day and night cycles, with no more than a 2% dip during storms.
Guests read welfare too. A 100% welfare exhibit draws longer guest stays, which lifts your education and guest happiness ratings, which in turn lifts your zoo star rating. A struggling exhibit has the opposite effect, and guests will visibly shake their heads and leave negative reviews if the animal looks stressed.
What Welfare Sub-Stats Actually Need
| Sub-Stat | Primary Driver | Secondary Driver | Common Failure |
|---|---|---|---|
| Food | Foraging enrichment, accessible food | Right number of feeders for animal count | Forgetting to refill food after birth events |
| Hydration | Water dish, misters, humidity | Shelter from dry air | Drier species next to a misting block |
| Comfort | Temperature, substrate, shelter | Low guest noise | No shelter piece in a busy corridor |
| Social | Group size, visual barriers | Enrichment for tactile species | Single animal with social needs |
| Exploration | Climbing, foraging, novel decor | Variety of textures | Identical leaf litter copy-pasted across the floor |
Welfare, enrichment, and the Planet Zoo 2 habitat welfare system all pull from the same engine, and a clean exhibit is one of the best training grounds for managing the larger habitats later. Once an exhibit hits a stable 100% on every stat, you have effectively built a microcosm of every larger system in the game, and the same three-zone template can be expanded to fit a much larger enclosure.
Frequently Asked Questions
How big should my first exhibit be?
Start with a 6x6 to 8x8 grid space. That footprint is enough for a climate unit, three enrichment zones, a back-of-house keeper gate, and one viewing glass panel. A walkthrough of an exhibit build in Planet Zoo 2 almost always uses this footprint as the starting point because it leaves room for the climate block and enrichment without wasted scenery.
Do I need both a heater and a cooler in every exhibit?
Yes, because Planet Zoo 2 habitat temperature swings with the local biome weather, and your climate block has to handle both directions. Even a tropical species that prefers 26 °C will need a cooler during a hot in-game summer, and a cool-climate species will need a heater at night. Treat the heater and cooler as a balanced pair rather than choosing one.
Where should I place the climate unit?
Mount the climate unit on a back wall, away from the guest viewing glass, with at least 1 meter of clearance on every side for keeper access. The unit itself is plain scenery, and placing it in view of guests hurts the education rating, while placing it too close to the barrier blocks the keeper's path and slows down feeding and cleaning tasks.
What is the fastest way to raise exhibit welfare fast?
Match the Zoopedia enrichment list exactly, then add one extra shelter piece and one extra water feature. Welfare jumps because every sub-stat is covered twice, and the animal always has a place to retreat if guests tap on the glass. This double-coverage trick is the same one community builders report as the fastest path to a stable 100% welfare rating in any enclosure.