
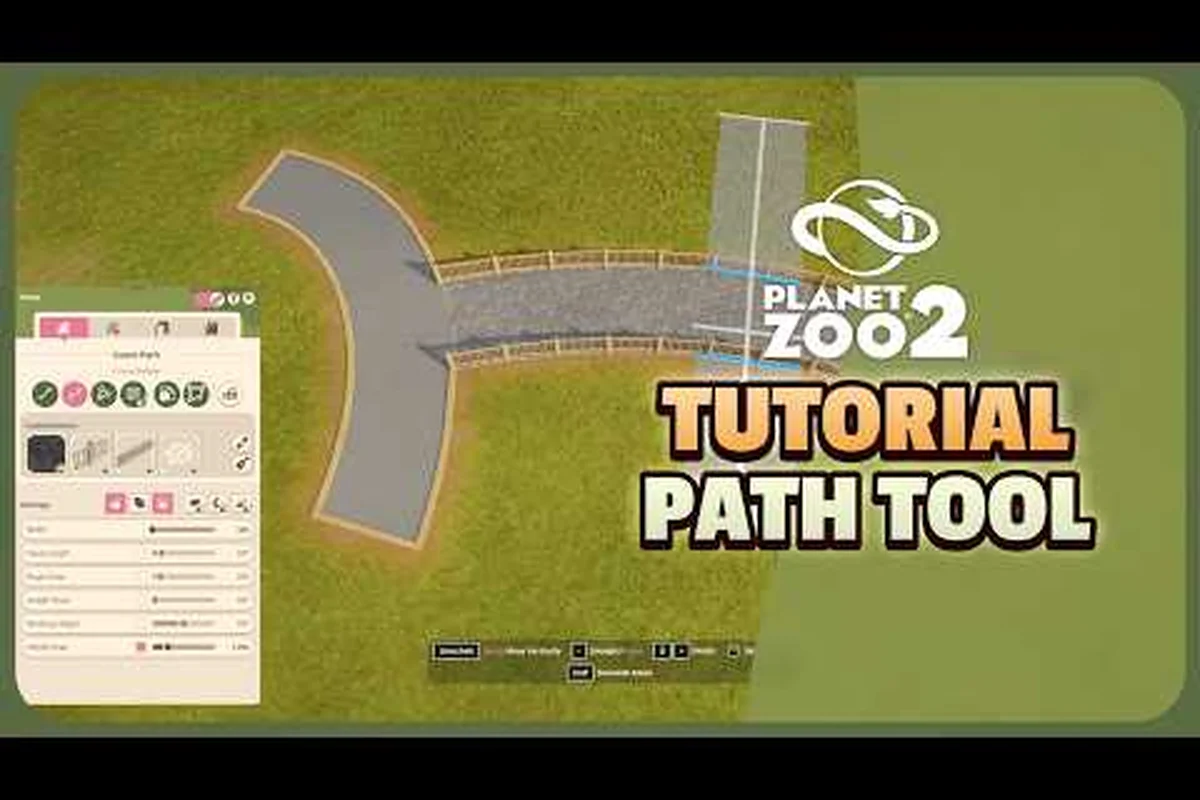
A clean path network is the backbone of every successful zoo in Planet Zoo 2, because guests, staff, and animals all rely on the same walkways to move around without complaint. This Planet Zoo 2 pathing guide walks through the four tools that decide whether your paths look professional or feel like a tangled mess: the path builder, the water tools, the demolish brush, and the multi-select tool. Mastering these unlocks faster building, cleaner edits, and the kind of layout that survives a career-mode expansion without falling apart. or feel like a tangled mess: the path builder, the water tools, the demolish brush, and the multi-select tool. Mastering these unlocks faster building, cleaner edits, and the kind of layout that survives a career-mode expansion without falling apart, and once the structural pieces click, layering scenery with a Planet Zoo 2 nature brush guide is what transforms a functional enclosure into a habitat that actually looks lived-in.
The Path Builder: Foundation of Every Great Zoo
Pathing in Planet Zoo 2 starts with the path tool, found under the Facilities menu alongside fences, barriers, and scenery. The path builder is more than a single brush — it functions as a small family of modes including a straight-line tool, a freeform brush, and a curved spline tool, each one useful in a different moment of a build. According to the official Planet Zoo 2 Player Guides on the basics, these building tools are introduced early because every other system in the game — habitats, staff routes, guest flow, services — depends on where paths actually go.
Choosing the Right Path Surface
Planet Zoo 2 ships with a deep path catalogue, ranging from the budget tarmac to themed cobblestone sets themed to biome, region, or era. Path surfaces affect more than decoration: clean, themed paths raise guest happiness slightly and tie the visual identity of a habitat together, while cheap tarmac keeps early-game construction costs low. Players building a tropical zone usually pair a darker stone path with a wooden boardwalk near the water for the contrast, while temperate biomes lean toward a brick or weathered concrete finish.
| Path Type | Cost Tier | Best Use Case | Visual Tone |
|---|---|---|---|
| Tarmac | Low | Service-only back areas, staff shortcuts | Neutral grey |
| Cobblestone | Medium | Guest-facing plazas and main avenues | Old-world charm |
| Wooden Boardwalk | Medium | Wetland, tropical, and aquatic habitat borders | Warm brown |
| Themed Set (Regional) | High | Showcase sections, signature entrances | Bi-locked texture |
| Decorative Pavers | High | Photo spots, gift shop forecourts | Clean modern |
The real value of the path builder sits in how it handles elevation. Paths can climb gentle slopes without looking broken, because the tool automatically generates stairs when the angle exceeds a certain threshold. This is the single biggest quality-of-life improvement over the original Planet Zoo, and it means you can finally connect a hilltop habitat to a valley gift shop without resorting to the invisible barrier trick that veterans used in the first game.
Connecting Habitats, Services, and Staff Zones
The path builder also handles the invisible logistics of a working zoo. Keepers travel along the same paths guests do, but they prioritise routes that lead to habitat service gates, so the placement of those gates directly affects how fast a keeper can reach a sick animal. Vets and mechanics use the same network, and security guards patrol the guest paths in loops. If you starve the service side of the zoo for path coverage, your staff will appear to "stand around" because they are technically walking the long way around the back of a habitat to reach their destination.
A useful pattern is the dual-grid layout: build a wide guest avenue down the centre, then a thinner staff path running parallel behind the habitats. This keeps the staff out of guest sight-lines and reduces path congestion, which directly raises the guest happiness rating. This same idea, plus the choice between the three game modes, is laid out in the Planet Zoo 2 how to start a zoo beginner walkthrough, but it deserves a quick mention here because the path grid is what makes those layouts work.
Water Tools and Water Customisation in Planet Zoo 2
Planet Zoo 2's biggest new addition on the building side is full support for aquatic and semi-aquatic animals, which means the game now ships with a complete water toolkit. According to the Planet Zoo 2 official Steam store page, players can build and manage a zoo that includes "fully aquatic and flying species" — and that feature set is built on the back of the new water tools, not a separate mode.
What the Water Tools Actually Do
The water tools let you paint water surfaces over terrain, raise and lower water height, and shape the edges where water meets land. Unlike the original Planet Zoo, where water was largely decorative, Planet Zoo 2's water tools output a true volumetric water surface that animals can swim through, dive under, and surface from. This is what enables the new blacktip reef shark habitat, the freshwater otter exhibits, and the salmon-stream walkthroughs that players are already sharing on the Frontier Workshop.
| Water Tool | Function | Common Mistake | Best Practice |
|---|---|---|---|
| Water Surface Brush | Paints a flat water area at a chosen height | Painting too high and flooding paths | Use the height slider to match the lowest path elevation |
| Water Depth Tool | Lowers the floor of a water body to add depth | Forgetting that animals need 1.5–2m for diving species | Check the species card before lowering |
| Shoreline Editor | Adjusts the curve where water meets land | Creating razor-sharp 90° edges | Pull the curve control points for a natural slope |
| Saltwater Conversion | Switches a freshwater body to saltwater | Converting before checking animal compatibility | Verify IUCN salt-tolerance in the Zoopedia first |
| Water Flow | Adds a directional current to a stream or river | Running flow into a barrier — fish will pile up | Always point flow downstream, away from glass |
Water Customisation Beyond the Defaults
The second half of the water system is Planet Zoo 2 water customisation, which covers textures, colours, opacity, and the small environmental details that sell the illusion of a real habitat. Players can pick from clear tropical blue, murky peat-brown, alpine glacial green, or a custom Flexi Colour tint that lets you mix a hue from a colour wheel. You can also drop in aquatic foliage beds, sunken rocks, and sand patches to break up the floor — these are all path-adjacent, because guests can see them through the glass.
A practical customisation tip is to set the water tint to match the climate of the surrounding habitat. Cold-water exhibits for penguins or seals look more believable with a slightly greenish-grey cast, while coral-reef displays benefit from a saturated cyan. The water texture layer is also where you add caustic light shimmer, which is purely cosmetic but instantly raises the perceived quality of the build. A saltwater tank lit by warm evening sun with caustic shimmer sells the moment in a way that flat blue water simply cannot.
The Demolish Brush: Cleaning Up Without Crying
Every builder hits the point where a path goes in the wrong place, a barrier overlaps a habitat gate, or a stack of scenery blocks a doorway. The demolish brush is the tool that fixes these problems without forcing a full reload of a save, and in Planet Zoo 2 it has been quietly upgraded to handle terrain, scenery, and path layers with the same workflow.
Modes of the Demolish Brush
The demolish brush is no longer a single button. It now exposes a layered selector that lets you decide what gets erased on each click. You can demolish paths only, scenery only, facilities only, terrain edits, or any combination of the above. This is essential when you are trying to remove a misplaced fountain without also deleting the path that runs under it, or when you want to flatten a hill but keep the trees.
| Demolish Layer | What It Removes | Typical Use Case |
|---|---|---|
| Paths | Guest paths, staff paths, queue lines | Realigning a main avenue |
| Barriers | Habitat walls, fences, glass panels | Resizing an exhibit |
| Scenery | Trees, rocks, buildings, decorations | Clearing a build site |
| Facilities | Shops, toilets, keepers' rooms | Relocating a service block |
| Terrain | Sculpted elevation, painted layers | Resetting a hill after a redesign |
| Water | Water surfaces, depth, flow | Draining a failed aquarium |
Avoiding the "Demolish Spiral"
A common trap new players fall into is the demolish spiral: you tear down a section because it looks wrong, rebuild it, decide it looks wrong again, and tear it down a second time. By the third iteration your zoo is a patchwork of ghost paths and partial terrain. The fix is to make heavy use of undo and redo before reaching for the demolish brush, and to group related objects together so they can be moved as a single block rather than rebuilt piece by piece. The Planet Zoo 2 group edit workflow is built around exactly this idea, and it pairs naturally with the demolish brush because the same group can be repositioned or removed in one step.
If you do need to demolish a large area, switch the brush to "terrain" only and avoid hitting the "all layers" mode unless you are clearing a blank slate for a fresh habitat. Demolishing all layers in a built-up section can refund the wrong amount of credits and leave invisible barriers behind, both of which are avoidable with a more targeted brush.
The Multi-Select Tool: Editing at Scale
The Planet Zoo 2 multi-select tool is the closest thing the game has to a professional drafting suite, and it is the feature that separates a quick build from a polished one. Multi-select lets you draw a box or a lasso around a group of objects and then perform a single action on the whole selection: move, rotate, duplicate, recolour, or delete. The catch is that multi-select only works on objects from a single category in a single drag, so you cannot lasso a path, a tree, and a barrier all at once — you would have to select and edit them in three separate passes.
Multi-Select Workflow in Practice
A typical use case is realigning a curved section of path that runs alongside a habitat. You lasso the offending path segments, hold the rotate handle, and pivot the entire arc by a few degrees without breaking the connection to the rest of the network. The same workflow applies to scenery clusters, which you can copy and paste to mirror a pattern down a long avenue. Multi-select is also the basis of the Planet Zoo 2 temperature tools workflow, where you can select a group of objects and apply a unified climate tint in one step.
| Multi-Select Action | Shortcut Hint | Best Scenario |
|---|---|---|
| Box Select | Drag left-to-right with the modifier key | Rectangular furniture or path arrays |
| Lasso Select | Drag right-to-left with the modifier key | Curved scenery clusters |
| Add to Selection | Hold the modifier while clicking | Picking up a missed object |
| Move Selection | Arrow keys or grab handle | Shifting a barrier wall |
| Rotate Selection | R key after selection | Aligning fences around a corner |
| Duplicate Selection | Standard duplicate shortcut | Mirroring a hedge pattern |
| Apply Flexi Colour | Colour picker, "Apply to selection" | Recolouring 30 roof tiles at once |
Multi-Select vs Group Edit: What's the Difference?
Multi-select and group edit look similar but serve different jobs. Multi-select is a temporary operation on whatever is on screen when you draw the box, and it does not save. Group edit, on the other hand, creates a persistent named group that you can recall, edit, and reuse as a single object. For a one-off move or recolour, multi-select is faster; for a habitat you will keep iterating on, group edit is the right tool. The two systems can also be combined — you can group-edit a section, then multi-select that group alongside other groups to perform mass operations.
Putting It All Together: A Pathing Workflow
The four tools covered above work best when used in a deliberate order rather than picked up at random. A clean pathing workflow in Planet Zoo 2 typically goes: lay the main path grid first, carve water bodies where the habitats will sit, demolish any misaligned sections before scenery goes in, and finally use multi-select to align fences, scenery clusters, and colour tints across the finished layout.
| Step | Tool | Action | Time Saved vs Ad-Hoc |
|---|---|---|---|
| 1 | Path Builder | Lay the guest and staff grids | Sets the entire layout in stone |
| 2 | Water Tools | Paint and depth-shape habitat water | Avoids re-excavating terrain |
| 3 | Demolish Brush | Strip misaligned paths or scenery | Prevents the rebuild spiral |
| 4 | Multi-Select | Align, recolour, and duplicate objects | 10x faster than per-object edits |
| 5 | Group Edit | Save the finished cluster for reuse | Reusable in other zoos |
This same pattern of planning first, building second, and editing third is also the core of a strong Planet Zoo 2 nature brush workflow, where the order of terrain sculpting, painting, and scattering decides how believable the final landscape looks. The pathing version of that rule is simple: paths first, water second, scenery third, polish last. Following that order cuts the average build time in half and dramatically reduces the amount of demolish-brush work needed afterwards.
A final note on save discipline: every time you finish a major pathing milestone — main grid done, water bodies filled in, scenery clusters aligned — save the game immediately. Pathing mistakes are easy to roll back from a recent save and very hard to roll back from a half-hour of demolition. This is also why experienced players keep separate test zoos for experimenting with the new water tools, because rebuilding a custom saltwater exhibit from scratch is much less painful when the only thing at stake is a sandbox file.
Frequently Asked Questions
What is the fastest way to lay a clean path grid in Planet Zoo 2?
Start with the path builder's straight-line mode and run a single spine avenue across the centre of the build area, then branch secondary paths at right angles. This grid-first approach prevents the organic tangle that happens when you build paths one habitat at a time, and it makes it much easier to add water bodies and services later without re-routing existing walkways.
How do the Planet Zoo 2 water tools interact with paths?
The water tools respect any path placed at a higher elevation, but they will flood low-lying paths if you raise a water surface above them. The safest pattern is to place paths first, then paint water at a height just below the lowest path tile. The water customisation sliders also affect how water looks from the path, so a muddy tint can make a clean stone path feel poorly themed if you do not match the biome.
When should I use the demolish brush versus undo?
Use undo for any change you made in the last few minutes, because undo restores credits, terrain height, and scenery placement exactly. The demolish brush is for changes that have been saved, or for partial demolitions where you want to keep some objects and remove others. Reaching for undo first is almost always the cheaper option, and it is also faster.
Can the Planet Zoo 2 multi-select tool move paths and barriers together?
No — multi-select is category-locked, so a single drag can only operate on one object type at a time. The workaround is to multi-select the paths, move them, then multi-select the barriers in a separate pass. For sections you will keep moving together repeatedly, group edit is the better tool because it lets you treat a mixed category as a single block.
Does the demolish brush refund credits in Planet Zoo 2?
Yes, the demolish brush refunds a percentage of the build cost when you remove paths, facilities, and scenery, and the exact refund amount depends on the object. Terrain edits return a smaller refund than full structures, and water surfaces return almost nothing, which is another reason to lay the path and water grid carefully before committing to scenery on top of it.